Vloeren in NL

Tenzij je het van oude kranten maakt, liggen de gemiddelde kosten van een vloerbedekking in Nederland tussen de €4 en €10 per vierkante meter. Het is echter mogelijk om voor een veel lagere prijs een vloer te laten leggen, omdat er steeds meer mogelijkheden zijn voor tweedehands vloeren. Over het algemeen staat hardhout bovenaan de lijst met €35 tot €70 per vierkante meter. Tegels variëren van € 25 tot € 60, vinyl van € 20 tot € 40 en beton kost gemiddeld € 20 tot € 40 per vierkante meter.
Laminaatvloeren zijn een populaire keuze en de projectprijs kan aanzienlijk variëren op basis van de materiaalkeuze, arbeidskosten en de kosten van een ondervloer om de oren van je buren te beschermen. Het leggen van laminaatvloeren kan zeer lonend zijn in termen van financiële overwegingen en levendigheid.
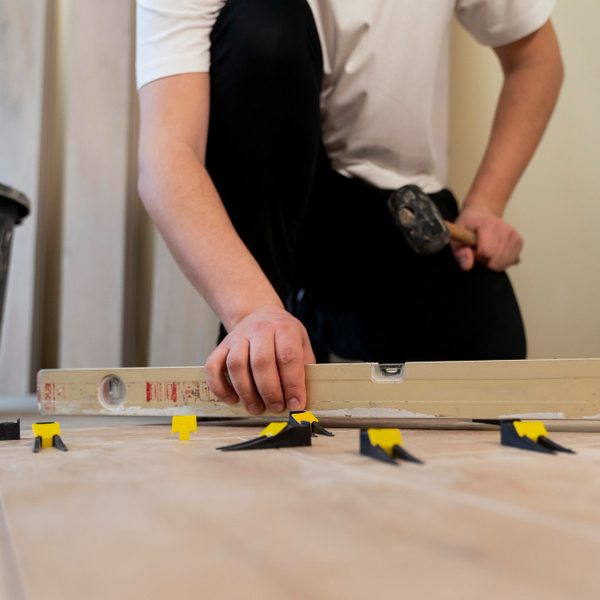
Hoe het werkt
Laminaatvloeren leggen in Nederland
Het gebruik van een ruimte is een belangrijke factor bij het kiezen van een vloertype. De functie van een vloer heeft invloed op de materialen die worden gebruikt om de vloer te maken. Laminaatvloeren zijn een uitstekende keuze voor een levendige uitstraling met bevredigende prestaties, en ze kunnen verschillend kosten op basis van deze toepassingen.
Neem bijvoorbeeld. In de keuken en badkamer wordt gemorst en geplast met water en daarom is vochtbestendige vloerlaminaat nodig. Ze willen echter niet te glad zijn om morsen tegen te gaan en veelvuldige valpartijen te voorkomen. Eenvoudige overwegingen zoals deze kunnen te technisch worden om goed te krijgen, waardoor de doe-het-zelf inspanningen tot frustratie leiden. Hoe dan ook, de installatie is vrij eenvoudig als je vertrouwd bent met de basisgereedschappen voor woningverbetering.
Laminaatvloeren zijn er in een groot aantal stijlen, kleuren en fotografische elementen voor een esthetische aantrekkingskracht. Je wilt je interieur niet verpesten door slechte beslissingen te nemen over het ontwerp van je vloer. Het kiezen van vloerpatronen kun je het beste aan professionals overlaten en andere veelgemaakte fouten bij het leggen van laminaat vermijden. Hoe dan ook is het belangrijk om het juiste type vloer te kiezen voor jouw specifieke behoeften en voorkeuren.
Gebruikelijke soorten vloeren voor thuis
Er zijn verschillende vloersoorten beschikbaar met verschillende materialen en ondervloeren. Hieronder vind je de meest voorkomende:
Houten vloeren leggen:
Een houten vloer is een andere populaire vloermogelijkheid, vooral in niet al te warme gebieden. Bij het leggen van een massief houten vloer worden houten planken op een ondervloer gespijkerd of gelijmd. Het is gemakkelijk te betalen en kan tientallen jaren meegaan als het goed wordt beheerd. Het is ook niet geschikt voor vochtige ruimtes, maar heeft een conserverende functie om het uiterlijk plotseling te veranderen. Houten vloeren geven elke ruimte een klassieke en tijdloze uitstraling, maar kunnen gevoelig zijn voor slijtage en krassen. Het enige wat je nodig hebt is een goed schuurpapier.
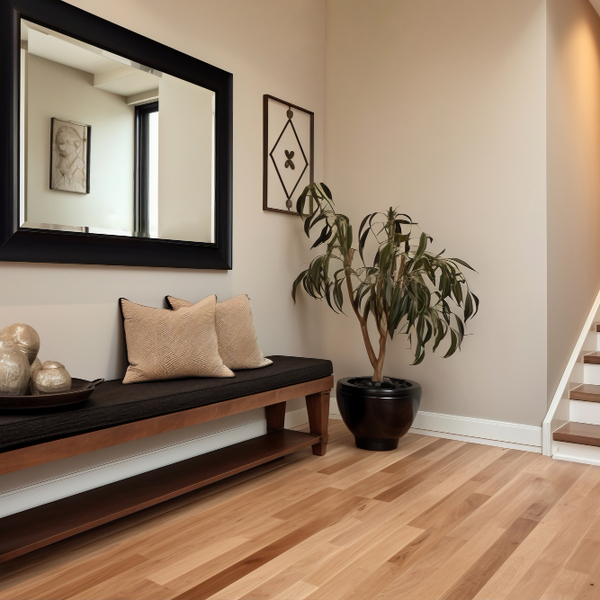
Vinylvloeren leggen:
Dit is een vervanging voor houten vloeren in vochtige ruimtes zoals keukens en badkamers. Voor huiseigenaren die nog steeds de voorkeur geven aan de uniforme uitstraling van houten vloeren op plekken waar dat niet aan te raden is, zijn vinylvloeren precies goed. Installatie gebeurt in vellen en panelen en vaak met lijm of een klik-en-sluitsysteem. Verwar het niet met een laminaatvloer. De levendige-peaky look maakt het een populaire wens voor klassiek en luxe in huis.
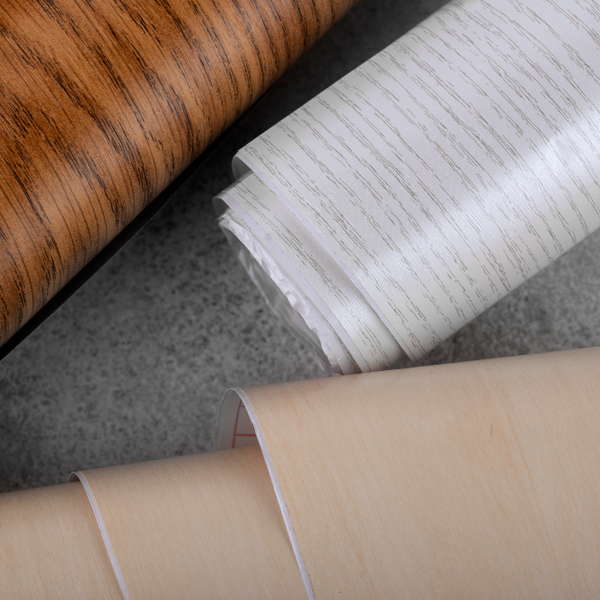
Eiken vloeren leggen op beton:
Bij het leggen van een eiken vloer op beton kan het nodig zijn om een onderlaag van polyethyleenfolie aan te brengen, maar het is cruciaal om vochtproblemen aan te pakken. Een te droge betonnen ondervloer verhindert een perfecte verlijming en een te hoog vochtgehalte kan resulteren in eikenhout dat tijdens het opdrogen gaat cuppen. Eiken parket wordt vaak aanbevolen voor betonnen ondervloeren en voor het leggen van eik met zeer grote afmetingen.
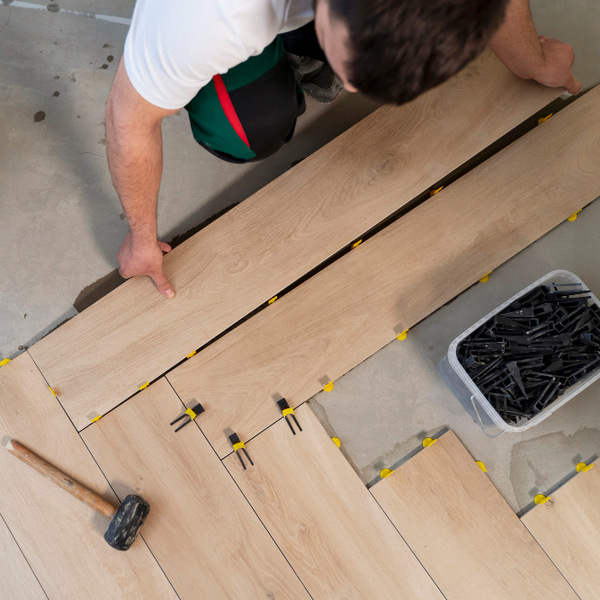
Houten vloeren leggen op beton:
Om een kamer met een kale betonnen vloer levendiger te maken, kun je er een houten vloer op leggen. Net als eiken vloeren is het ook een uitdaging om rechtstreeks op beton te leggen vanwege de vochtproblemen. Voor een goede acclimatisatie wordt aanbevolen om het hout dagenlang op te slaan in de ruimte waar het wordt gelegd om een evenwichtig vochtgehalte te bereiken. Een parketvloer kan in dit opzicht ook beter dienst doen.
Het leggen van parketvloeren:
Gemonteerd hout is gemaakt van samengesteld hout dat is gelaagd met houtderivaten zoals zaagsel, voor een betere functionaliteit. Een parketvloer is ontworpen voor meer stabiliteit en biedt een oplossing voor het grote vochtprobleem bij houten vloeren, vooral in de kelder. Om te installeren kan het gelijmd, gespijkerd of zwevend (met een klik-en-sluitsysteem) over verschillende ondervloeren worden gelegd. Makkelijker zelf te doen dan gewoon hardhout leggen.
Vinyl planken leggen:
Het is prachtig ontworpen in verschillende stijlen en je kunt Vinyl Plankenvloeren ook leggen met een klik-en-slot mechanisme of lijmen. Het is relatief eenvoudig te leggen, duurzaam en bestand tegen water en slijtage. Met een paar vrienden, wat gereedschap en YouTube kun je aan de slag!
Linoleum leggen:
Linoleum is zeer geschikt voor plaatsen waar natuurlijke en milieuvriendelijke vloeren worden aangemoedigd. Het wordt vaak vastgelijmd en vereist een goede voorbereiding van de ondervloer. Linoleum wordt geleverd in vellen of tegels en biedt een breed scala aan kleuren en patronen.
Laminaatvloer op beton leggen:
Beton kan ook met laminaatvloeren worden bedekt. Bij het leggen van laminaat op beton is het belangrijk om een ondervloer met vochtscherm te gebruiken om te voorkomen dat vocht het laminaat aantast. De juiste acclimatisering is ook nodig voor een goede vochtbalans.
Parket leggen:
Parketvloeren zien er uitstekend uit voor een decoratief houteffect op de vloer. Het bestaat uit kleine stukjes hout die in patronen met elkaar verbonden zijn. Het kan worden vastgelijmd of genageld, maar de ondervloer moet vlak zijn voor een goede uitlijning en om kieren te voorkomen.
Waarom kiest u ons?
Ervaring is de sleutel tot succes en dat hebben onze dienstverleners in overvloed
5000+
50+


500+
huis
verbeteringen
Stappen van het plaatsen van laminaatvloeren
Dit zijn de algemene stappen voor het leggen van laminaatvloeren:
Stel je materiaal samen: Hieronder vind je een lijst met gereedschap dat je nodig zou kunnen hebben:
- Meetlint
- Timmermanshaak
- Potlood of krijtlijn
- Veiligheidsbril en gehoorbescherming
- Hobbymes
- Cirkelzaag of decoupeerzaag
- Verstekzaag
- Trekijzer
- Klopblok
- Hamer
- Afstandhouders
- Schuurblok
- Knie Pads
- Waterpas
- Onderzaag
- Klemmen of riemen
- Laminaatreiniger
- Rubberen hamer
Bereid de ondervloer voor: Verwijder om te beginnen alle meubels en eventueel de bestaande vloerbedekking. Zorg ervoor dat de ondervloer schoon, droog en vlak is. Gebruik indien nodig een egalisatiemiddel om alle oneffenheden weg te werken.
Laat de vloer acclimatiseren: Laat de laminaatplanken minstens 2 dagen acclimatiseren aan de omstandigheden in elke kamer. Dit helpt om kromtrekken of knikken na het leggen te voorkomen.
Ondervloer plaatsen: Zoals vereist door het beleid van elk district, moet u een onderlaag op de ondervloer leggen. De onderlaag biedt ondersteuning, geluidsabsorptie en een vochtscherm.
Planning van de lay-out: Begin bij de langste muur. Plan de legrichting van de laminaatplanken.
Beginrij: begin met het leggen van de eerste rij planken langs de beginmuur. Je mag een kleine opening laten tussen de planken en de muur in geval van uitzetting. Deze ruimte wordt bedekt door plinten of sierlijsten.
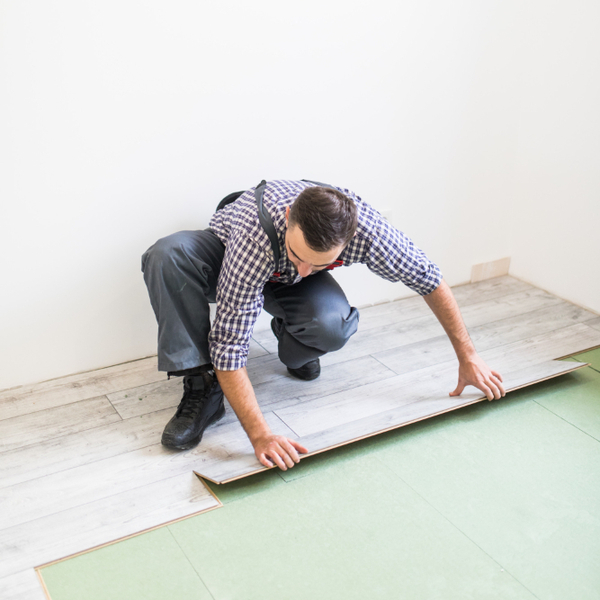
Installatie: Lees de plaatsingshandleiding van de fabrikant zorgvuldig door om te begrijpen welke methode voor jouw laminaattype wordt aanbevolen. Plaats de planken door ze schuin te plaatsen of in elkaar te klikken. Gebruik een stootblok en een rubberen hamer om de planken op hun plaats te tikken.
Planken zagen: Hier komt het wiskundige aspect. Meet en zaag de planken zoals nodig om rond deuropeningen, hoeken en uiteinden van muren te passen. Een manier om dit te doen is om de ruimte tussen de laatste volle plank en het object te meten en deze maat over te brengen op een andere plank om te zagen. Hiervoor wordt meestal een zaag gebruikt, zoals een cirkelzaag of een decoupeerzaag.
Rijen afmaken: Voor de laatste rij ontkom je er gelukkig niet aan om planken op maat te zagen. Gebruik aan het einde een treklat om de laatste rij vast te zetten.
Plinten en sierlijsten installeren: Vergeet niet dat je een opening hebt gelaten toen je aan de rij begon. Nadat de vloer is geïnstalleerd, kunt u opnieuw plinten en sierlijsten installeren om de uitzettingsvoeg langs de muren te bedekken.
Voltooi de installatie en ruim op: Geniet van de voldoening van een afgewerkt project en zing mee terwijl je de geïnstalleerde laminaatvloer veegt of stofzuigt om puin te verwijderen.
Onthoud dat hoewel het leggen van laminaat over het algemeen doe-het-zelfvriendelijk is, het belangrijk is om de plaatsingsinstructies van de fabrikant voor het product dat je gebruikt nauwkeurig op te volgen.
Kosten voor het leggen van laminaatvloeren
De gemiddelde kosten van laminaatvloeren liggen bij de meeste aannemers tussen €4 en €10 per vierkante meter. Dit dekt zowel de materiaal- als arbeidskosten. Je moet er ook rekening mee houden dat de dikte en de stijl van het laminaat de prijs voor het leggen van een laminaatvloer uit dit bereik kunnen gooien.
De kosten voor het leggen van laminaatvloeren in Nederland kunnen ook per locatie verschillen. Aannemers in Amsterdam kunnen je hogere prijzen geven dan omliggende steden, omdat daar hogere eisen worden gesteld. De vloerkosten in Nederland zijn echter budgetvriendelijk en niet duur.
De voordelen van Moovick vloeren
Stelt u vragen als 'Wat zijn de vloerdiensten bij mij in de buurt?
Moovick's platform biedt een innovatieve en efficiënte oplossing voor alle soorten vloerprojecten. Het doet dit door particulieren in contact te brengen met een netwerk van vloerprofessionals en meer dan 1600 freelance klusjesmannen.
Ontvang op maat gemaakte diensten voor vinylvloeren en boek ook je gepersonaliseerde diensten voor laminaatvloeren op Moovick met slechts een paar klikken.
Met Moovick kunt u de leiding nemen over uw huisverbeteringsreis en genieten van betere controle en tijdmanagement tijdens het hele proces.


